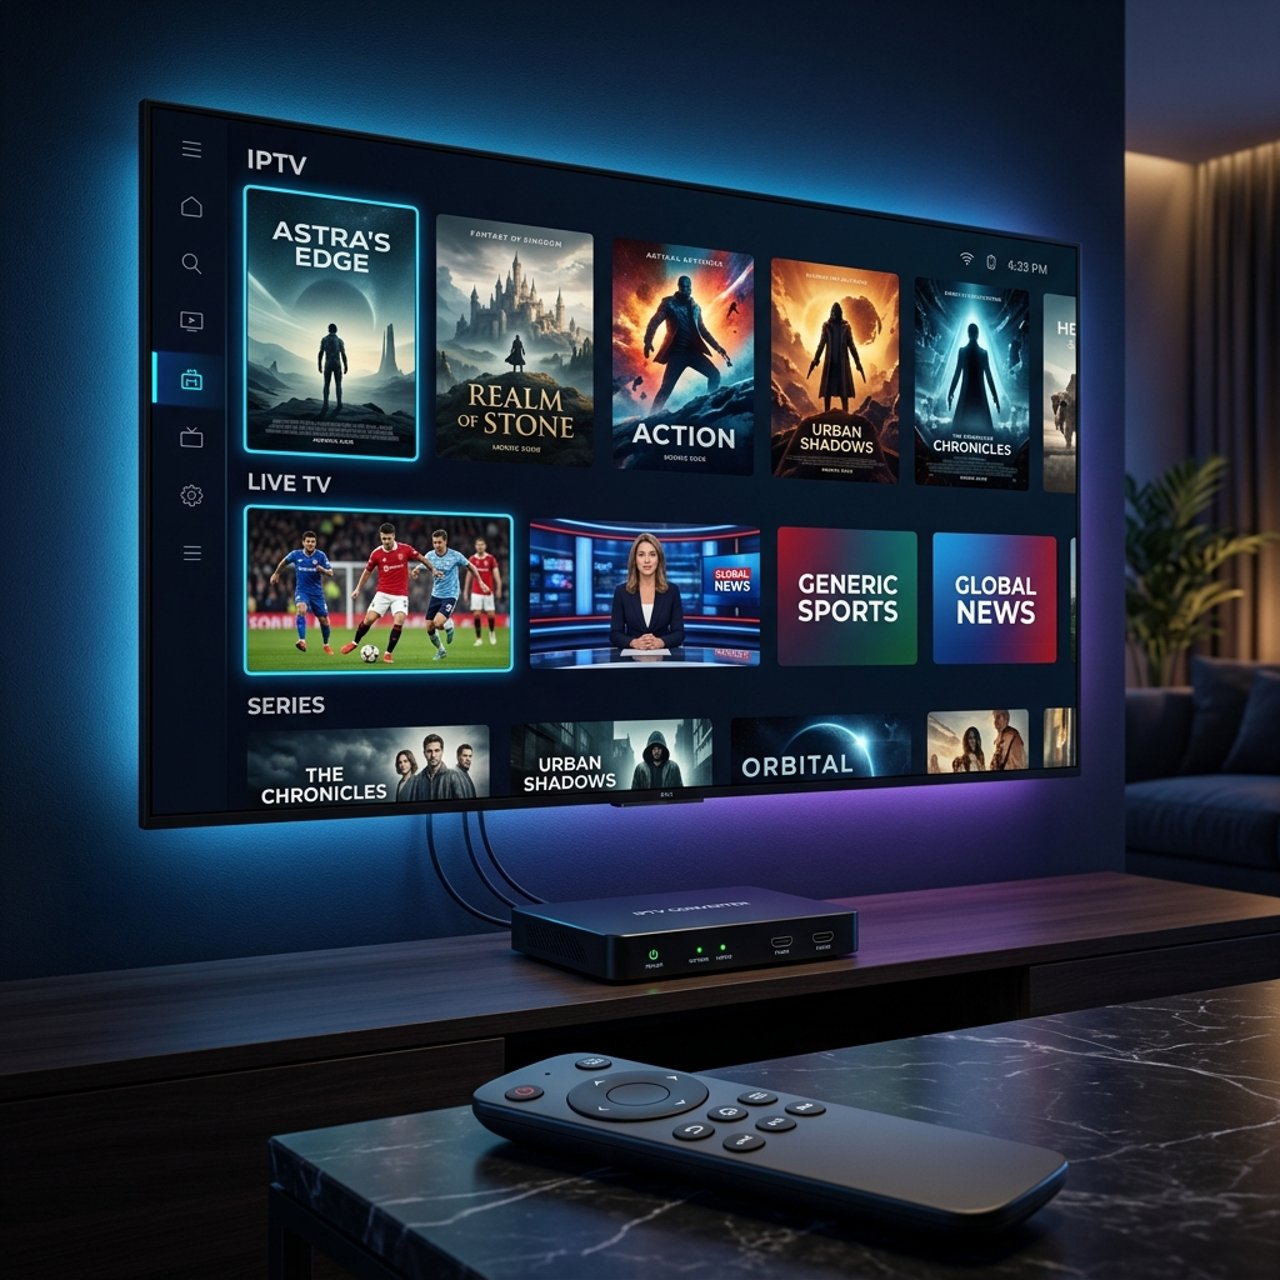
Unlock Streaming with HDMI to IPTV Converter: A Complete Guide

Your perfectly good TV is sitting there collecting dust because it lacks a smart interface, or maybe your hotel room TV has no apps, or your old monitor has no tuner and you're missing live sports, your favorite channels, and on-demand content because of it. An HDMI to IPTV converter is the hardware bridge that solves all of this instantly, turning any screen with an HDMI port into a fully functional IPTV streaming powerhouse. Whether you're running an M3U playlist, connecting via Xtream Codes, or streaming 4K VOD libraries, the right converter setup makes it completely painless and this guide walks you through every single step.
Getting this setup right matters more than people realize. A misconfigured converter or wrong network setting leads to constant buffering, playlist loading failures, and dropped streams right in the middle of your game. Solving it correctly the first time means uninterrupted, high-definition IPTV streaming every single day without frustration.
Core Concepts & Need-To-Know Info
- HDMI to IPTV converter types: These come in three main forms: dedicated IPTV set-top boxes with HDMI output (like MAG boxes), Android-based streaming sticks (like Firestick or Chromecast), and hardware encoder/decoder devices used for broadcasting
- M3U playlist: A text-based URL your IPTV provider gives you. It contains all your channel links and is pasted into apps like TiviMate, IPTV Smarters, or GSE Smart IPTV
- Xtream Codes: An alternative login method (server URL + username + password) that some converters and apps support natively, often more stable than raw M3U links
- VOD (Video on Demand): Your on-demand movie and series library, separate from live channels, accessible through the same playlist or Xtream login
- ISP throttling: Your internet provider may intentionally slow IPTV traffic, causing buffering. A VPN masks your traffic and bypasses this
- HDMI input vs HDMI output: Converters output video signal via HDMI to your TV. Some devices also have HDMI input to capture external signals, know which type you need
- Minimum internet speed: 10 Mbps for HD, 25+ Mbps for 4K. Wired Ethernet always beats Wi-Fi for IPTV stability
Step-by-Step Guide
- Step 1: Choose and Connect Your HDMI to IPTV Converter:
- Select your device, a Firestick, Android TV box, or MAG-style set-top box. Plug it into an available HDMI port on your TV or monitor. Switch your TV input source to the corresponding HDMI channel using your TV remote. Power on the device and complete any initial language and Wi-Fi setup prompts before moving forward.
- Step 2: Connect to Your Network (Ethernet Recommended):
- Navigate to Settings, then Network on your converter's interface. If your device has an Ethernet port, connect a cable from your router directly to it for the most stable IPTV stream. If using Wi-Fi, select your network and enter your password. Run a speed test using a browser or speed test app to confirm you're hitting at least 20 Mbps before proceeding.
- Step 3: Install Your IPTV Player App:
- On Firestick, go to Settings, then My Fire TV, then Developer Options and enable Apps from Unknown Sources. Then open the Downloader app, enter the URL for TiviMate (or IPTV Smarters Pro), and install it. On Android TV boxes, open the Google Play Store and search for TiviMate or IPTV Smarters directly and install from there.
- Step 4: Launch the App and Add Your Playlist:
- Open your chosen IPTV app. Select Add Playlist or Add Provider. Choose between M3U URL or Xtream Codes based on what your IPTV provider sent you. If using M3U, paste the full URL exactly as provided, one wrong character breaks it entirely. If using Xtream Codes, enter the server URL, your username, and your password in their respective fields. Tap Connect or Load.
- Step 5: Wait for the Channel List to Load:
- Depending on your subscription size, loading your playlist can take 30 seconds to 3 minutes. Do not close the app during this process. Once loaded, you'll see your channel categories, live TV sections, and VOD library appear in the interface.
- Step 6: Organize Your Channels and Test Playback:
- Navigate to a live sports channel or a popular news channel to test your stream quality. Confirm the video plays smoothly in HD or 4K. Set up your favorites list by marking frequently watched channels. Adjust the video buffer size in your app's settings if you notice any initial stuttering, increasing it to 10-15 seconds smooths out minor network inconsistencies.
- Step 7: Install and Activate a VPN (Optional but Recommended):
- To prevent ISP throttling from ruining your streams, install a VPN app on your converter device. ExpressVPN and NordVPN both have dedicated Firestick and Android TV apps. Open the VPN, connect to a nearby server, and relaunch your IPTV app. Your streams are now encrypted and protected from ISP interference.
Real-world scenario: Imagine you've just subscribed, entered your Xtream Codes credentials perfectly, and the channels load but every stream buffers after 30 seconds. Ninety percent of the time this is ISP throttling, and without a VPN you'll spend days assuming your IPTV service is at fault when it isn't. Another common nightmare is using a free VPN that drops your connection speed from 100 Mbps to 4 Mbps, making your converter essentially useless for HD streaming, and both of these issues are completely preventable.
Best VPNs to Stop ISP Throttling on Your IPTV Converter
ISP throttling is the silent stream killer. Your internet provider sees heavy video traffic and deliberately slows it down during peak hours, usually exactly when you're trying to watch live sports. ExpressVPN is the gold standard for IPTV with blazing fast servers, a dedicated Firestick app, and a MediaStreamer DNS feature that works even on devices that can't run a VPN app natively. NordVPN offers excellent speeds, a strict no-logs policy, and a SmartPlay feature that automatically routes your IPTV traffic for the best performance. Surfshark is budget-friendly with unlimited simultaneous device connections, perfect if you're running multiple IPTV converters across different TVs in your home. IPVanish is particularly popular in the IPTV community for its seamless Firestick integration and consistent speeds during live sports events. Always connect to the VPN server geographically closest to you for the fastest connection, and test your speed after connecting to confirm you're maintaining enough bandwidth for your stream quality.
TiviMate vs IPTV Smarters: Which App Works Best on Your Converter
Choosing the right player app dramatically affects your daily IPTV experience on any HDMI converter device. TiviMate is the premium choice for Android-based converters and Firestick, with the cleanest EPG (Electronic Program Guide) in the industry, near-instant channel switching, and a UI that feels like a professional cable TV interface. The paid version (around $5/year) unlocks multiple playlists and recording features. IPTV Smarters Pro is the best option for users who receive Xtream Codes credentials from their provider, handling VOD libraries exceptionally well, displaying series in proper season/episode format, and is completely free. GSE Smart IPTV is a solid middle-ground app with deep customization for the technically minded user who wants granular control over buffer sizes, stream protocols, and external player integration. For MAG-style set-top boxes, these typically run their own built-in IPTV portal software, so you simply enter your portal URL in the device settings and it loads everything automatically without a third-party app.
Common Setup Mistakes and How to Fix Them
Even experienced users make these errors when setting up an HDMI to IPTV converter for the first time. Using the wrong HDMI port is a frequent issue since some TVs have an HDMI ARC port that behaves differently, so if your converter isn't displaying, try a standard HDMI port first. Skipping EPG setup means your Electronic Program Guide won't show what's on now or what's coming next, so add your provider's EPG URL in app settings under EPG/XMLTV URL. Ignoring app cache buildup is another pitfall since after weeks of use, IPTV apps accumulate cached data that slows performance and causes crashes, so go to Settings, then Apps, then your IPTV App, then Clear Cache every 2-3 weeks. Finally, using the wrong streaming protocol can prevent channels from loading, so try switching from HLS to RTMP or TS in your player's stream settings since some channels require a specific protocol to play correctly.
Network Requirements for 4K IPTV Streaming
Running 4K content through your HDMI to IPTV converter demands more from your network than most people expect. You need a minimum speed of 25 Mbps dedicated to the converter device, not your total home internet speed, but the actual bandwidth available to that one device at that moment. An Ethernet connection is non-negotiable for consistent 4K since Wi-Fi introduces latency spikes and packet loss that turn 4K streams into buffering nightmares even on fast connections. If you must use Wi-Fi, place your router in the same room as your converter or use a mesh Wi-Fi node directly beside your TV. You should also log into your router's admin panel and enable Quality of Service (QoS), then prioritize your converter device's MAC address to guarantee it gets bandwidth before other household devices.
Troubleshooting Playlist Errors on Your IPTV Converter
When your M3U playlist refuses to load or channels show as unavailable, work through these fixes systematically. Re-enter your M3U URL by copying it fresh from your provider's portal or welcome email, never retype it manually, paste it directly to eliminate human error. Check your subscription status by logging into your provider's customer panel and confirming your subscription is active and hasn't expired. Test on a different device since if the playlist loads on your phone but not your converter, the issue is device-specific, likely a DNS or firewall setting. Change your DNS server by going to your network settings on the converter and switching to 1.1.1.1 (Cloudflare) or 8.8.8.8 (Google) since ISP-assigned DNS servers sometimes block IPTV traffic. Use a factory reset as a last resort since it clears all corrupted settings and gives you a completely clean slate for reinstallation.
Setting up an HDMI to IPTV converter is genuinely one of the smartest moves you can make if you want live TV, international channels, sports, and VOD without being locked into expensive cable packages, and with the hardware being affordable and setup taking under 20 minutes when you follow these steps properly, the result is a professional-grade streaming experience on any screen in your home or hotel room. Get your M3U URL or Xtream Codes credentials from your provider, pick up a quality converter device, lock in a reliable VPN, and explore our full channel list and pricing plans to find the perfect subscription for your needs.
Frequently Asked Questions
Ready to get started?
Try our service risk-free with a 24-hour free trial.
Related Articles
Explore the Best IPTV Services of 2026: A Complete Guide
Review of the best IPTV services for 2026.
Discover the Best IPTV Services for 2026: A Complete Guide
Uncover the best IPTV services and apps for streaming.
Discover the Best Box for IPTV: Your Ultimate Guide
Find the best IPTV box for seamless streaming.