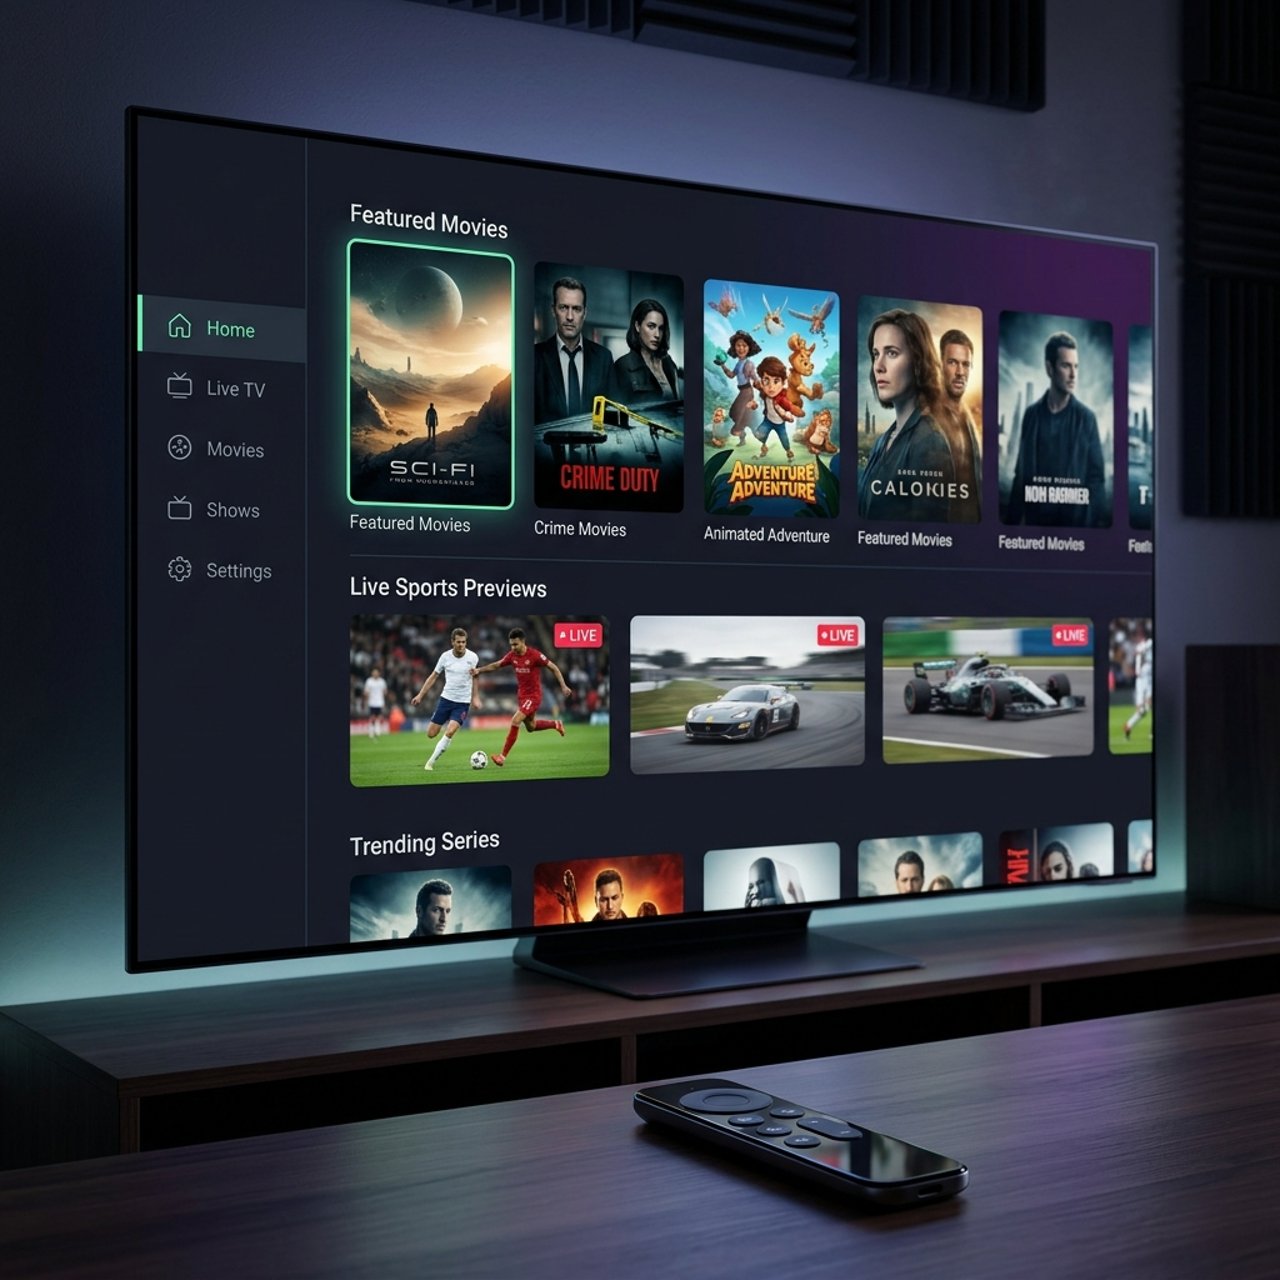
How to Add a Playlist on IPTV: Step-by-Step Guide

You've paid for an IPTV subscription, you've got your M3U URL or Xtream Codes credentials sitting in your inbox, and now you're staring at a blank app screen wondering what to do next. It's one of the most frustrating moments in streaming — you're this close to hundreds of live channels, sports, and VOD content, but a single wrong step in the playlist setup process leaves you with nothing but error messages. This guide walks you through exactly how to add a playlist on IPTV across every major platform and app, with zero confusion and zero guesswork.
When your IPTV playlist is added incorrectly, your app can't communicate with the server properly — leading to authentication failures, empty channel lists, and EPG (Electronic Program Guide) that never loads. Getting this right from the beginning protects your investment and ensures you actually enjoy what you're paying for.
Core Concepts & Need-To-Know Info
- M3U Playlist URL: A direct link ending in .m3u or .m3u8 that your IPTV app fetches to pull in all channel and VOD data. It looks something like http://yourserver.com:8080/get.php?username=xxx&password=xxx&type=m3u
- Xtream Codes API: An alternative login method using a server URL, username, and password separately — more stable than M3U for large channel lists
- EPG (Electronic Program Guide): The TV guide data that shows what's on now and what's coming up. This is usually a separate URL provided by your IPTV service
- Port Numbers Matter: Your server URL must include the correct port (e.g., :8080, :25461). Missing or wrong port = connection failure
- ISP Throttling: Your internet provider may detect and slow down IPTV traffic. A VPN can bypass this and restore full streaming speeds
- Refresh Interval: How often your app re-fetches the playlist. Setting this too low hammers the server; too high means you miss new channels
- DNS Settings: Using a fast DNS like Cloudflare (1.1.1.1) or Google (8.8.8.8) can dramatically improve channel load times
Step-by-Step Guide
- Method A — Step 1: Install TiviMate from the Amazon App Store:
- On your Firestick home screen, press the search icon and type TiviMate. Select it from the results and click Download. Once installed, open the app. You'll be greeted by a setup wizard — do not skip this, it's where you add your playlist.
- Method A — Step 2: Select Add Playlist:
- On the TiviMate welcome screen, tap Add Playlist. You'll see three options: M3U URL, Xtream Codes, and Local File. For this method, tap M3U URL.
- Method A — Step 3: Enter Your M3U URL:
- Using the on-screen keyboard (or a connected Bluetooth keyboard for easier typing), carefully paste or type your full M3U URL. Double-check the port number and every character — a single typo will cause a playlist not found error. Tap Next when done.
- Method A — Step 4: Name Your Playlist:
- Give your playlist a recognizable name like My IPTV or your provider's name. This matters if you plan to add multiple playlists later. Tap Add to confirm.
- Method A — Step 5: Wait for the Playlist to Load:
- TiviMate will now contact the server and download your full channel list. Depending on how many channels your package includes (some have 10,000+), this can take 30 seconds to 2 minutes. Don't close the app during this process.
- Method A — Step 6: Add Your EPG URL:
- Once loaded, go to Settings > Playlists > select your playlist > EPG URL. Paste your EPG link here. Set the refresh time to every 12 or 24 hours. Tap Update EPG Now to populate your guide immediately.
- Method B — Step 1: Open IPTV Smarters Pro and Select Add User:
- Launch IPTV Smarters Pro and tap Add New User. From the login type options, select Login with Xtream Codes API — this is the most reliable connection method.
- Method B — Step 2: Enter Your Server Credentials:
- Fill in three fields: your server URL (e.g., http://yourserver.com:8080), your username, and your password — all provided by your IPTV service. Make sure the URL includes http:// or https:// at the beginning and the correct port at the end.
- Method B — Step 3: Tap Add User and Let It Sync:
- Hit Add User and Smarters will authenticate your credentials with the server. If everything is correct, you'll be taken to the main dashboard where Live TV, Movies, and Series are all separated into clean categories. If you get an error, re-check your server URL and port number first.
- Method B — Step 4: Browse and Organize Your Channels:
- Navigate to Live TV and you'll see all channel groups. Tap any group to see channels inside it. Use the built-in favorites function (long-press on a channel) to pin your most-watched channels for quick access.
Imagine finally getting your playlist loaded, settling in for a Premier League match, and hitting a black screen 10 minutes in — that's exactly what happens when you've exceeded your connection limit by accident. Equally frustrating is when ISP throttling kicks in during peak evening hours, turning HD streams into pixelated slideshows — a situation a reliable paid VPN would have prevented entirely.
Best VPNs to Stop ISP Throttling for IPTV
ISP throttling is real, and it specifically targets streaming traffic during peak hours (evenings and weekends). A VPN encrypts your traffic so your ISP can't identify and throttle it. ExpressVPN is consistently the fastest VPN for streaming with 3,000+ servers globally and its MediaStreamer DNS feature is specifically optimized for devices like Firestick, with minimal speed loss usually under 10%. NordVPN is excellent for IPTV users because of its dedicated streaming servers and built-in obfuscation which hides VPN traffic from aggressive ISPs, while NordLynx protocol delivers near-native speeds. Surfshark is the best budget option with unlimited simultaneous connections — perfect if you run IPTV on multiple TVs. Always connect your VPN to a server in the same country as your IPTV provider's server location, and enable split tunneling so that only your IPTV traffic goes through the VPN while other internet activity uses your normal connection.
Common Setup Mistakes & How to Fix Them
Knowing how to add a playlist on IPTV is one thing — knowing why it breaks is what saves you hours of frustration. Copying your M3U URL with extra spaces is a frequent issue since invisible spaces sometimes attach to the beginning or end of the URL when copying from an email or website — manually place your cursor at the start and end of the URL field in TiviMate to delete any hidden characters. Using HTTP when the server requires HTTPS is another trap: if your HTTP URL fails, try replacing http:// with https:// and test again. Not refreshing the playlist after package upgrades means your app won't show new channels until you manually refresh via Settings > Playlists > Update in TiviMate. If your program guide shows times that are hours off, go to Settings > General > Time Offset and adjust it to your local timezone. Finally, forgetting to clear app cache after errors is a common oversight — on Firestick, go to Settings > Applications > Manage Installed Applications, find your IPTV app, and tap Clear Cache to resolve most random freezing and black screen issues without needing to reinstall.
Recommended Apps: TiviMate vs IPTV Smarters Pro
Choosing the right app for your playlist makes a significant difference in stability and usability. TiviMate is widely considered the gold standard for IPTV on Firestick and Android TV — its UI is clean, EPG integration is rock-solid, and the premium version ($4.99/year) unlocks multiple playlists, catchup TV, and panel customization, making it best for users who want a native TV-like experience. IPTV Smarters Pro is the go-to for users whose providers use the Xtream Codes API, supporting multi-screen layouts, parental controls, and a Netflix-style VOD grid. GSE Smart IPTV is worth considering for users on iOS or older Android devices as it handles large M3U playlists well with robust multi-language EPG support. For 4K content, TiviMate handles 4K H.265 streams better than Smarters on most Firestick 4K Max devices because of its lower CPU overhead during playback. Use TiviMate if your provider gives you an M3U URL, and use Smarters if you have Xtream Codes credentials — both can technically do both, but each performs best in its native use case.
Network Requirements for Smooth IPTV Streaming
Your internet connection is just as important as your app setup when it comes to how to add playlist on IPTV and actually enjoying it without interruptions. SD channels need at least 5 Mbps, HD channels need 10-15 Mbps, and 4K UHD streams require 25 Mbps or more per stream. A direct ethernet connection from your router to your Firestick via an ethernet adapter eliminates the Wi-Fi interference that causes random buffering spikes. If you must use Wi-Fi, connect to your router's 5GHz band rather than 2.4GHz since the 5GHz band is faster and less congested, though it has shorter range. Keep your router as close as possible to your streaming device because walls, especially concrete or brick, kill 5GHz signal strength dramatically. Many modern routers also have Quality of Service settings — prioritize your Firestick or Android TV's MAC address to ensure IPTV traffic always gets bandwidth first during household usage peaks.
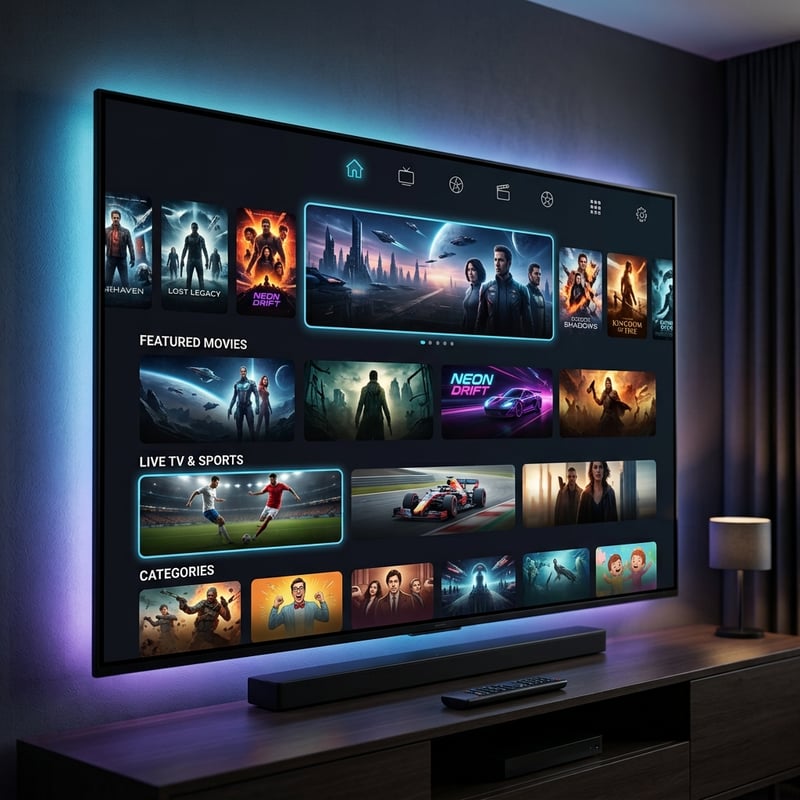
Learning exactly how to add a playlist on IPTV correctly the first time eliminates weeks of trial-and-error frustration, and whether you're using TiviMate on a Firestick 4K, IPTV Smarters on an Android TV box, or any other setup, the combination of the right app, a correctly formatted M3U or Xtream Codes login, solid network fundamentals, and a reliable VPN gives you a streaming experience that rivals traditional cable TV. Set it up right once and you'll be watching everything you want without touching the settings again for months — check out our full channel list and pricing plans to get started today.
Frequently Asked Questions
Ready to get started?
Try our service risk-free with a 24-hour free trial.
Related Articles
Best IPTV for Sports: Watch Every Live Game in 4K Without Cable (2026)
Complete 2026 guide to choosing the best IPTV service for live sports, optimizing for zero-lag 4K match streaming, and eliminating peak-hour buffering.
Unlock Streaming with HDMI to IPTV Converter: A Complete Guide
Learn how HDMI to IPTV converters can improve your streaming setup.
How to Choose the Best IPTV Provider: A Complete Guide
Learn how to select the best IPTV provider for your needs.