Unlocking the Power of HDMI to IPTV Encoder: Your 2026 Guide

You've got a live camera feed, a satellite receiver, or a local broadcast source and you want to stream it directly to every TV, phone, or tablet in your building without running a single extra cable. That's exactly what an HDMI to IPTV encoder makes possible, and if you've been struggling with pixelated streams, sync issues, or a setup that just refuses to cooperate, this guide is going to fix all of that. Whether you're running a hotel AV system, a sports bar setup, a church live stream, or a home media network, getting your HDMI to IPTV encoder configured correctly is the difference between a rock-solid broadcast and a laggy, unwatchable mess.
Getting your encoder dialed in correctly isn't just about convenience, it directly determines the video quality, latency, and stability every viewer on your network experiences. A misconfigured encoder can introduce buffering, audio drift, and dropped frames that no amount of internet speed will fix, because the problem starts at the source, not the delivery end.
Core Concepts & Need-To-Know Info
- What an HDMI to IPTV encoder does: It takes a raw HDMI video signal (from a camera, Blu-ray player, satellite box, or PC) and converts it into a compressed digital stream delivered over IP networks using protocols like RTSP, HLS, RTMP, or UDP.
- H.264 vs H.265 encoding: H.264 is universally compatible with almost every IPTV player and device. H.265 (HEVC) cuts file size roughly in half but requires a decoder that supports it, not all Firestick generations do.
- Stream URL / M3U URL: Once your encoder is running, it generates a unique stream address (e.g., rtsp://192.168.1.50:554/stream) that you paste into any IPTV app as an M3U playlist entry or direct stream URL.
- Multicast vs Unicast: Multicast sends one stream to many viewers simultaneously (ideal for large networks). Unicast sends individual streams per viewer (simpler but heavier on bandwidth for large audiences).
- Bitrate matters: For 1080p streaming, aim for 4-8 Mbps. For 4K, you'll need 15-25 Mbps. Your local network, not your ISP, handles this traffic.
- DHCP vs Static IP: Assign your encoder a static IP so its stream URL never changes when the device reboots.
- Network switch requirement: For multicast, you need a managed switch with IGMP snooping enabled. For small unicast setups, any basic router works.
Step-by-Step Guide
- Step 1: Unbox and Connect Your HDMI Source:
- Plug your HDMI cable from your source device (camera, satellite receiver, game console, etc.) directly into the HDMI IN port on the encoder. Use a high-speed HDMI cable, cheap cables cause handshake failures and blank screens before you even start configuring anything.
- Step 2: Connect the Encoder to Your Network:
- Run a Cat5e or Cat6 Ethernet cable from the encoder's LAN port to your router or managed switch. While some encoders offer Wi-Fi, always use wired Ethernet for broadcast applications. Wi-Fi introduces jitter and packet loss that destroys live stream quality.
- Step 3: Power On and Find the Encoder's IP Address:
- Connect the encoder's power adapter. Log into your router's admin panel (typically at 192.168.1.1 or 192.168.0.1) and look under connected devices for the encoder's assigned IP address. Write this down, you'll need it for every configuration step.
- Step 4: Access the Encoder's Web Interface:
- Open any web browser on a computer connected to the same network. Type the encoder's IP address into the address bar and press Enter. Most encoders use a default login, commonly admin/admin or admin/12345. Check your manual for the exact credentials.
- Step 5: Set a Static IP Address:
- Inside the web interface, navigate to Network Settings. Change the IP assignment from DHCP to Static. Enter your chosen IP (e.g., 192.168.1.100), the correct subnet mask (255.255.255.0), and your router's gateway address. Save and reboot the encoder.
- Step 6: Configure Your Video and Audio Settings:
- Navigate to the Encode or Video Settings section. Select your resolution (1920x1080 for Full HD), frame rate (25fps for PAL regions, 30fps for NTSC), and encoding format (H.264 for maximum compatibility). Set your bitrate, 5000 Kbps is a solid starting point for 1080p. Set audio to AAC at 128 Kbps.
- Step 7: Select Your Streaming Protocol:
- Go to the Stream Output or Protocol section. For IPTV player compatibility, HLS (HTTP Live Streaming) is the most universal option. For low-latency applications, use RTSP. For pushing to a streaming server, use RTMP. Enable your chosen protocol and note the generated stream URL displayed on screen.
- Step 8: Add the Stream URL to Your IPTV Player:
- Copy the stream URL from the encoder's web interface. On TiviMate, navigate to Add Playlist then M3U URL and paste it. On IPTV Smarters, go to Add User then M3U URL. On VLC, use Media then Open Network Stream and paste the URL. On a Firestick using any Xtream Codes-compatible app, you can use the RTSP URL as a custom channel source.
- Step 9: Test and Monitor the Stream:
- Open your IPTV app, find your newly added channel, and play it. Check for smooth video, synced audio, and stable quality. Return to the encoder's web interface and look for a Status or Monitor page showing input signal detected, encoding active, and stream connected.
Imagine setting up a 12-screen sports bar for a championship match, only to realize at kickoff that every TV is showing a choppy, stuttering stream because the encoder's bitrate was left at default 1000 Kbps. Or picture a hotel guest calling the front desk because their in-room IPTV channel keeps freezing, traced back to a static IP that was never set, so the encoder grabbed a new address after a power outage and broke every single stream URL in the system. These are real scenarios that happen when the setup is rushed, and they're entirely preventable.
Best Encoders for IPTV Broadcasting (Hardware Recommendations)
Choosing the right hardware is just as important as configuration. The Kiloview E1 is a compact H.264/H.265 encoder with a simple web interface, RTSP/RTMP/HLS support, and solid performance for hotel and small venue deployments, making it excellent for first-time encoder users. The Magewell Ultra Encode HDMI is professional-grade, supporting NDI, RTMP, RTSP, SRT, and HLS simultaneously, overkill for home use but the gold standard for broadcast environments and stadium deployments. The Haivision KB Encoder is enterprise-level with SRT (Secure Reliable Transport) protocol support, ideal for low-latency remote streaming over the public internet where ISP throttling and packet loss are concerns. The AVMATRIX HE1002 is a dual-channel 1080p encoder at a mid-range price point, perfect for facilities that need to stream two independent HDMI sources simultaneously on one device. Generic H.264 IPTV encoders are available from $80-$150 on various marketplaces, functional for basic setups but web interfaces are often poorly translated and firmware updates are rare, fine for experimenting but not for commercial deployments. When comparing hardware, prioritize protocol flexibility (HLS + RTSP minimum), web interface usability, and firmware update history over raw specs alone.
Network Requirements for Smooth IPTV Streaming
Your encoder can output perfect video, but if your network can't carry it, viewers see buffering regardless. For 1080p unicast streaming, each viewer needs a dedicated 5-8 Mbps of available bandwidth on your LAN, and a 100 Mbps network switch handles up to 12-20 simultaneous HD streams before saturation. For 4K streaming, allocate 20-25 Mbps per viewer, and a Gigabit (1000 Mbps) network switch is the minimum requirement for any serious 4K IPTV distribution. Enabling IGMP Snooping for multicast setups is essential because without it, multicast traffic floods every port on your switch, choking devices that aren't even watching the stream. Use QoS (Quality of Service) settings on your router to prioritize traffic from your encoder's static IP address so streaming packets never get queued behind large file downloads or VoIP traffic on a shared network. Wired connections are mandatory for the encoder and primary receivers, because even fast Wi-Fi (Wi-Fi 6) introduces inconsistent latency compared to Ethernet.
Recommended IPTV Apps for Viewing Your Encoder Stream
Not every IPTV player handles direct stream URLs from encoders equally well. VLC Media Player is the most universal option, allowing you to paste any RTSP or HLS URL under Media then Open Network Stream, with no account needed, completely free, and working on Windows, Mac, Android, and iOS. TiviMate on Firestick and Android TV is the best option for a polished TV interface, letting you add your encoder's HLS URL as an M3U playlist with EPG support and a clean TV guide layout. IPTV Smarters Pro offers strong Xtream Codes API support and works well when you've set up a middleware server between your encoder and viewers, available on Firestick and Android TV. Kodi with PVR IPTV Simple Client is ideal if you want EPG integration alongside your encoder stream, with your M3U URL added in the PVR addon settings for a complete live TV experience. Perfect Player is a lightweight Android app that handles RTSP streams particularly well with minimal buffering on low-powered devices.
Troubleshooting Common HDMI to IPTV Encoder Problems
Even with a perfect setup, issues appear. A black screen in your player while the encoder shows active usually means your stream URL protocol is blocked by a firewall, so try switching from RTSP (port 554) to HLS (port 80 or 8080), which almost never gets blocked on local networks. Audio out of sync means you should verify the audio encoding is set to AAC, since MP3 audio causes sync drift on many IPTV players, and you should also check that your video frame rate matches the source device exactly. Buffering on viewers' devices but not locally points to a bottleneck between your encoder and remote viewers, so check your upload speed and consider enabling SRT protocol if your encoder supports it. A stream URL that suddenly stops working almost certainly means your encoder got a new DHCP address after a reboot, so set a static IP permanently and update your M3U playlist URLs across all devices. If the encoder web interface is completely unreachable, hold the reset button for 10 seconds to restore factory defaults, then reconfigure from Step 4, making sure your computer is on the same network subnet as the encoder.
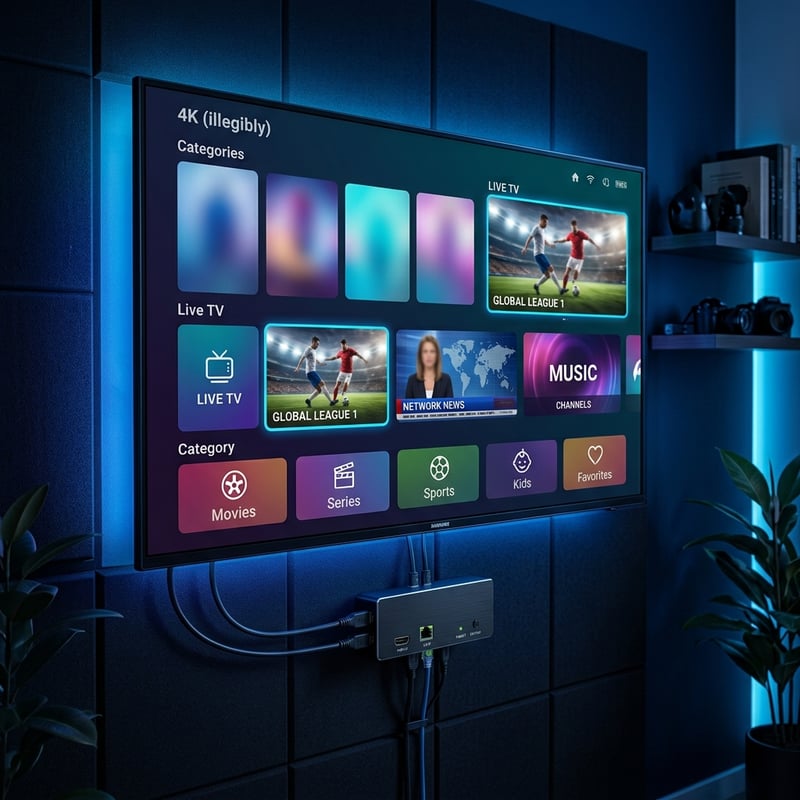
Setting up an HDMI to IPTV encoder the right way the first time saves you hours of troubleshooting, dozens of support calls, and the kind of embarrassment that comes when a live event stream collapses in front of an audience. With a properly configured encoder, a static IP, the right protocol for your use case, and a compatible IPTV player on the receiving end, you've built a private broadcast system that rivals professional setups, so explore our full channel list and pricing plans to take your IPTV experience even further.
Frequently Asked Questions
Ready to get started?
Try our service risk-free with a 24-hour free trial.
Related Articles
PPV Streaming Guide How to Watch Pay Per View Events in 2026
Pay-per-view events are the most expensive single purchases in all of entertainment. A single championship fight card can cost $80 and if your stream buffers during the main event that money is gone with no refund. This guide compares every way to watch PPV in 2026 including official purchases, free PPV streams, and IPTV subscriptions. Real data from 10 major event nights shows which option actually delivers a complete viewing experience.
Discover Elitestream IPTV: Your Ultimate 2026 Review Guide
Uncover the features and benefits of Elitestream IPTV in this detailed review.
How to Change Your DNS Settings for Faster Internet Browsing and Streaming
A technical guide to understanding and changing DNS settings for faster internet performance covering how DNS resolution works and how to configure public DNS servers on routers and individual devices.